
Books
To demonstrate some of the features of Knowboard, we’ll walk through setting up a workspace with a couple documents describing a couple of books.
This tutorial will show how to:
- add properties describing the books
- link and navigate between documents
- augment your documents with separate “data files”
- use queries to explore the data
- add shapes to describe the structures
Configuring a workspace
Section titled “Configuring a workspace”Start by creating a .knowboard.toml at the base directory where your documents will be stored.
base_uri = "tag:me@example.com,2026:my-workspace/"The base_uri here should use your email address, a date (usually just the current year is sufficient) and a name. This will serve as a unique prefix for the documents in this workspace, which we’ll look at more later when using this to identify contents in the workspace.
For alternative formats, read more about picking a base_uri.
Adding documents
Section titled “Adding documents”Most of your content will be stored in Markdown files. Let’s start with an entry to describe a book:
# Pride and Prejudice
Use the body of the document to add notes, or other content.
Let’s add one more book to work with:
# The Great Gatsby
Planning to read this after [[pride-and-prejudice]]
If Knowboard is running, you should see a preview like this when you hover over the Wiki Link in the document:
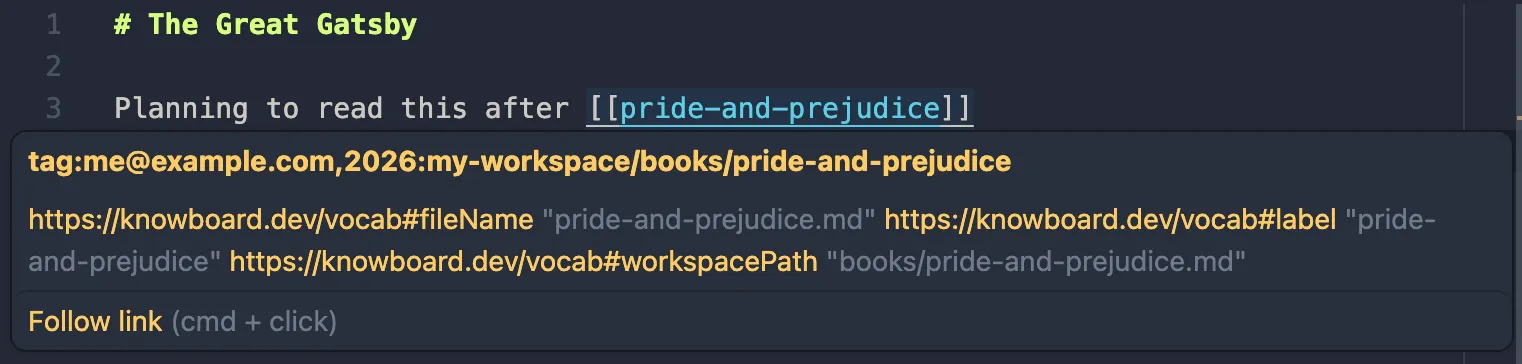
Using your editor’s shortcut (e.g. Cmd Click or Ctrl Click) should navigate
to the other document.
Next we’ll start adding more structured properties to the documents.